
Garden Tool Spa Day!
Well-maintained tools last longer, work better, and feel nicer to use. In a previous post we wrote about how tool maintenance can be one of the first things that is pushed to the wayside during the active gardening season, but it can be a great thing to do on these cold winter days when there isn’t much to do in the garden.
Below is a step-by-step guide to cleaning, removing rust, and sharpening your tools. Think of this as a spa day: a deep clean, some restorative treatments, and a finishing polish so everything is ready for spring.
Step 1: Cleaning
Before you tackle rust or sharpening, your tools need to be clean. Dirt fosters rust, dulls blades, and can spread plant diseases.
Remove caked-on dirt
Use a wired brush, steel wool, or another scraping tool to knock off dried soil and sap. For especially hard layers of grime, using hot water with dish soap may be needed.Disinfect pruning tools
This is important to make sure diseases are eliminated and aren’t carried over to next season. Wipe all lopper, shear, and pruner blades with a disinfecting wipe or rubbing alcohol.Dry completely
Moisture is rust’s best friend. Towel dry immediately and let tools air-dry for a few minutes before moving on.

Tip: Spread out a tarp to work on for easy cleanup!
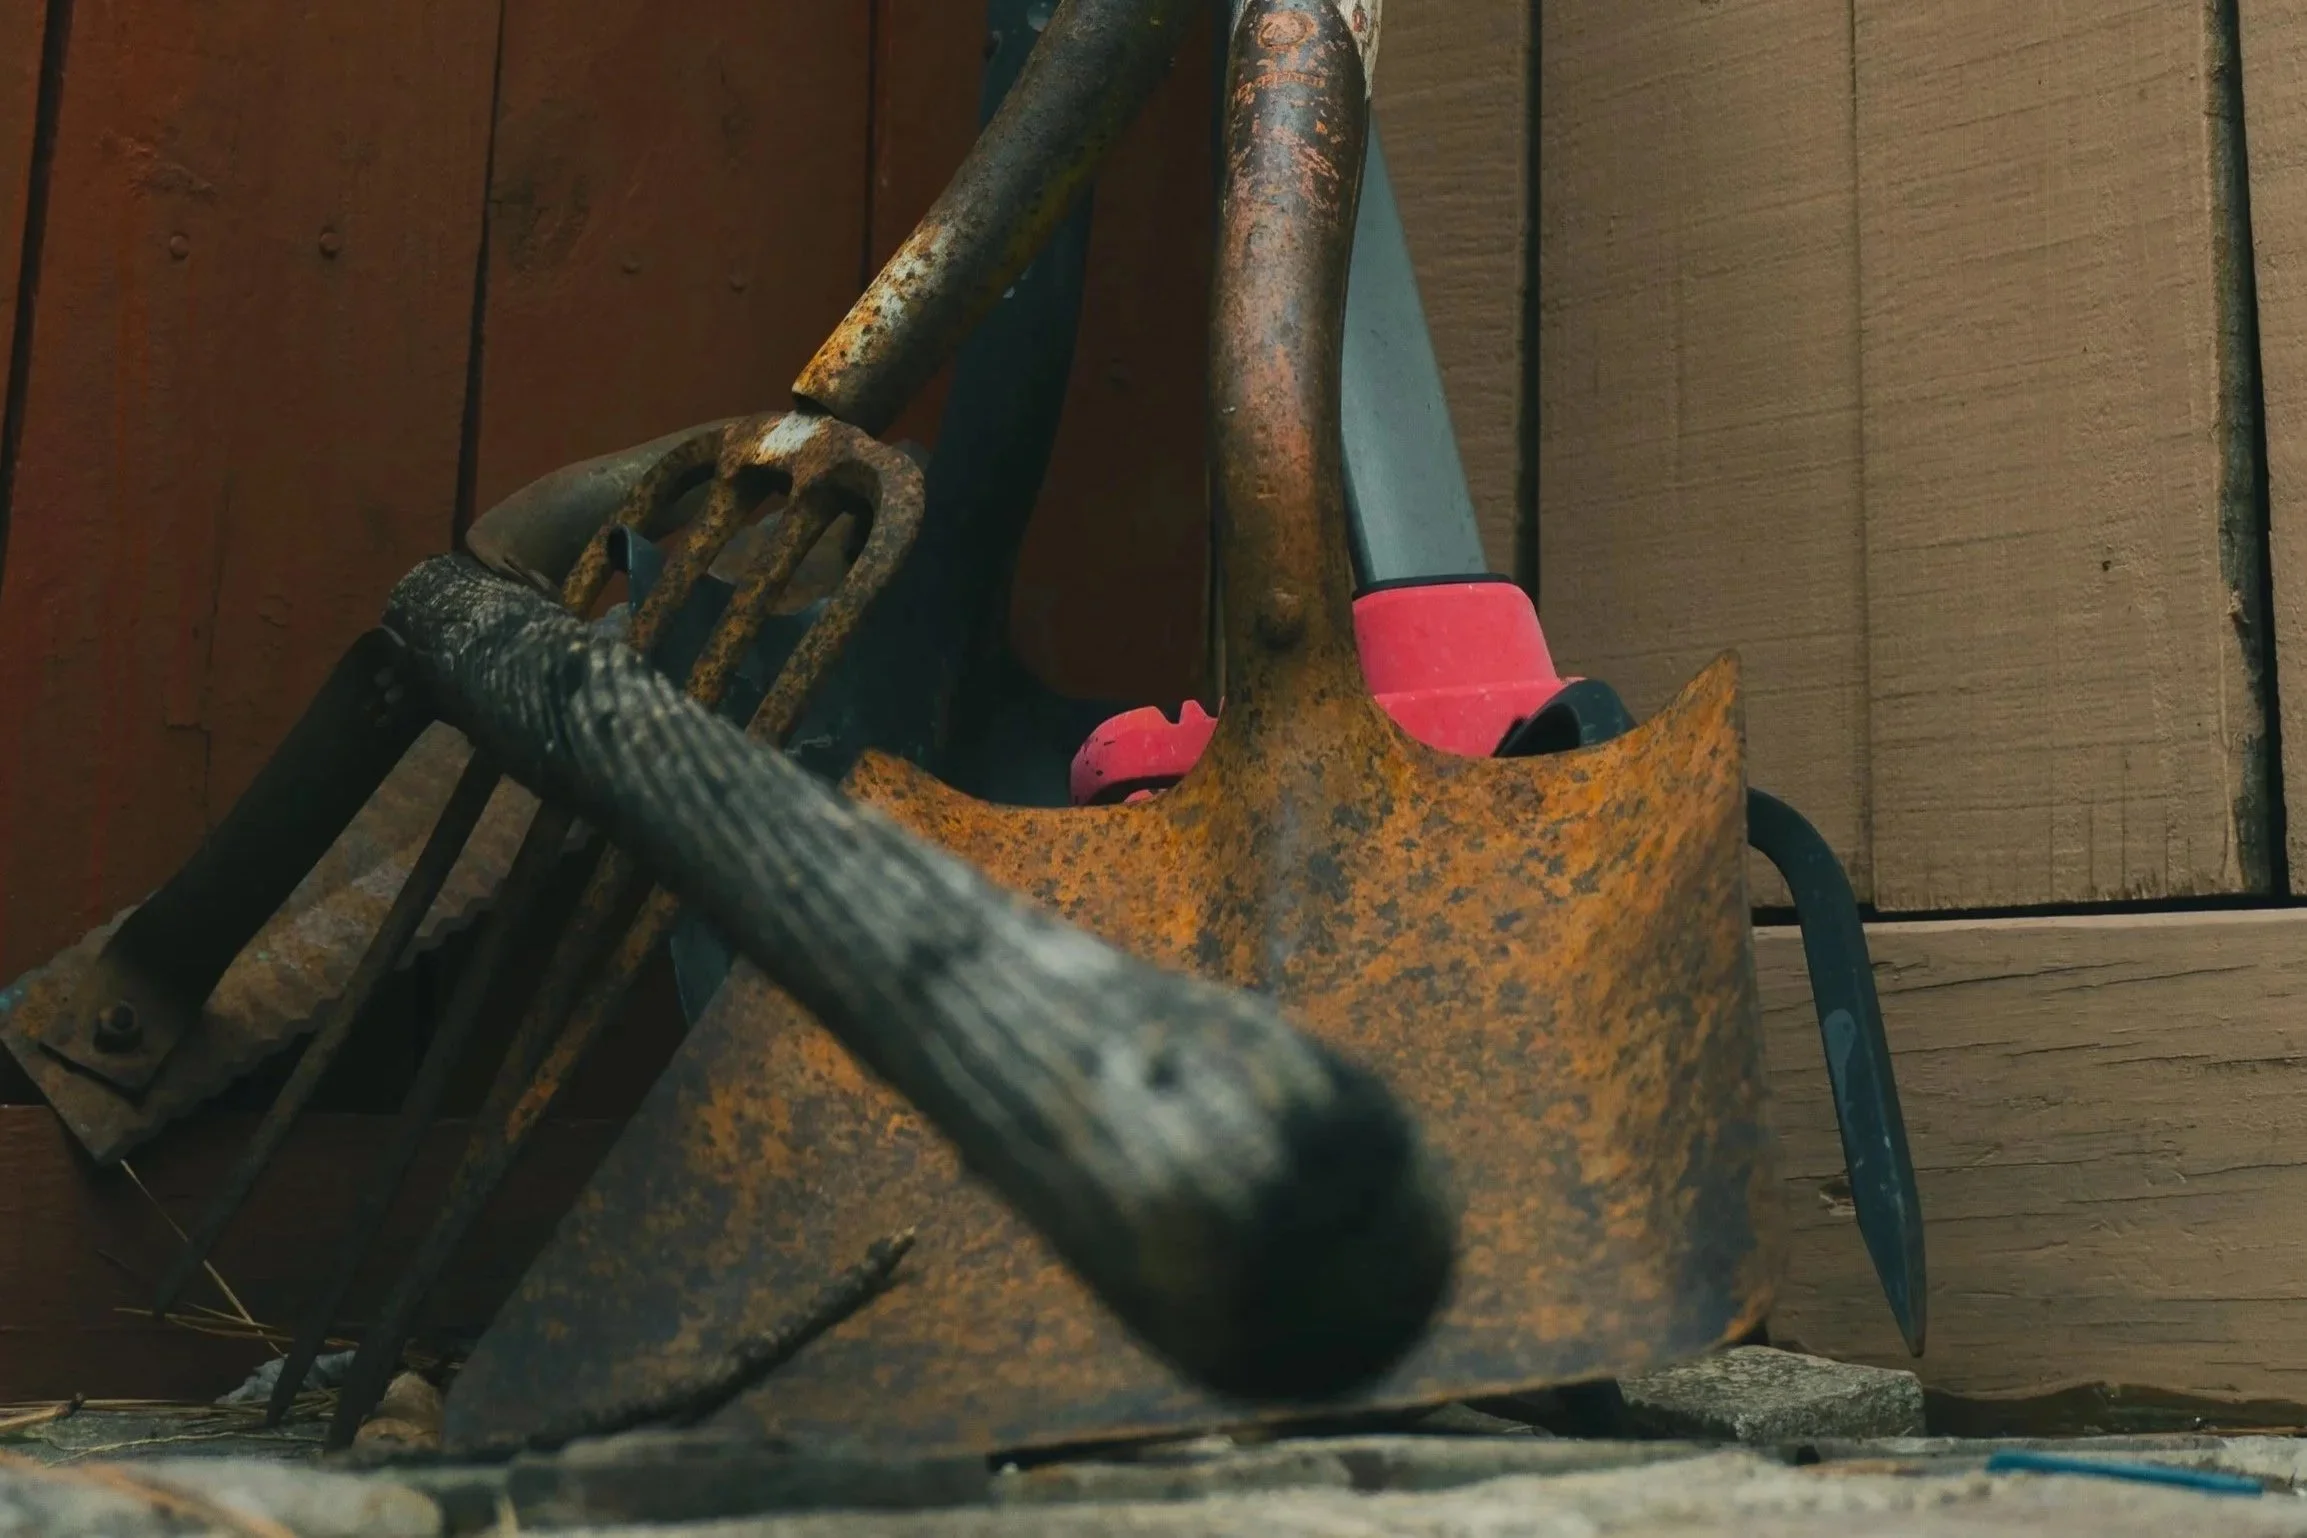
Step 2: Rust Removal
Rust happens—even to well-loved tools. The good news: surface rust is easy to remove, and winter gives you plenty of time to do it right. Try out some of these techniques, listed from light rust to heavy rust remedies.
Manual scrubbing
Use steel wool or sandpaper to scrub rusted areas. Work in small circles and let the tool do the workBaking soda paste
Mix baking soda with a little water or vinegar to form a thick paste
Spread the paste over the rusted area and let it sit for a few hours
Scrub off the paste with a brush, rinse, and dry the tool thoroughly
Repeat if needed
Vinegar soak
Submerge rusted metal parts in white vinegar for 24 hours
Rinse thoroughly
Scrub again with steel wool
Dry immediately
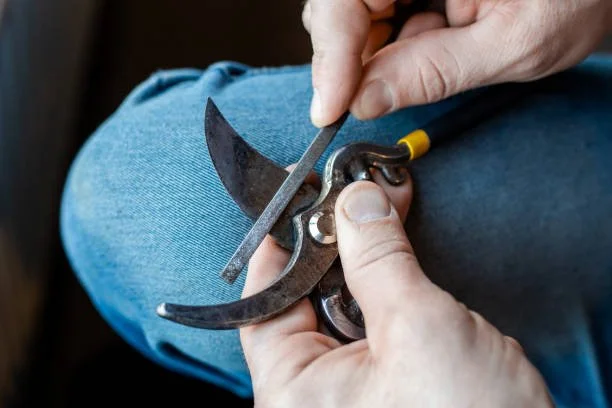
Step 3: Sharpening
Sharp tools make cleaner cuts, reduce plant stress, and are safer (yes—dull tools slip more easily and thus you’re more likely to cut yourself!).
Identify the bevel
Most cutting tools have one beveled edge and one flat edge. Only sharpen the beveled side.File in one direction
Push the file along the bevel, following the existing angle (usually 20–30°) with smooth, consistent strokes.Test the edge
Your tool should feel sharp and not jagged.
Step 4: Oiling
Your tools are now clean, rust-free, and sharp. Protect that work you did and prevent rust with an oil - we recommend using 3-in-One multipurpose oil or motor oil. Pour a small amount of oil on a rag or paper towel and apply a light coat to all metal surfaces. A little goes a long way!
Step 5: Proper Winter Storage
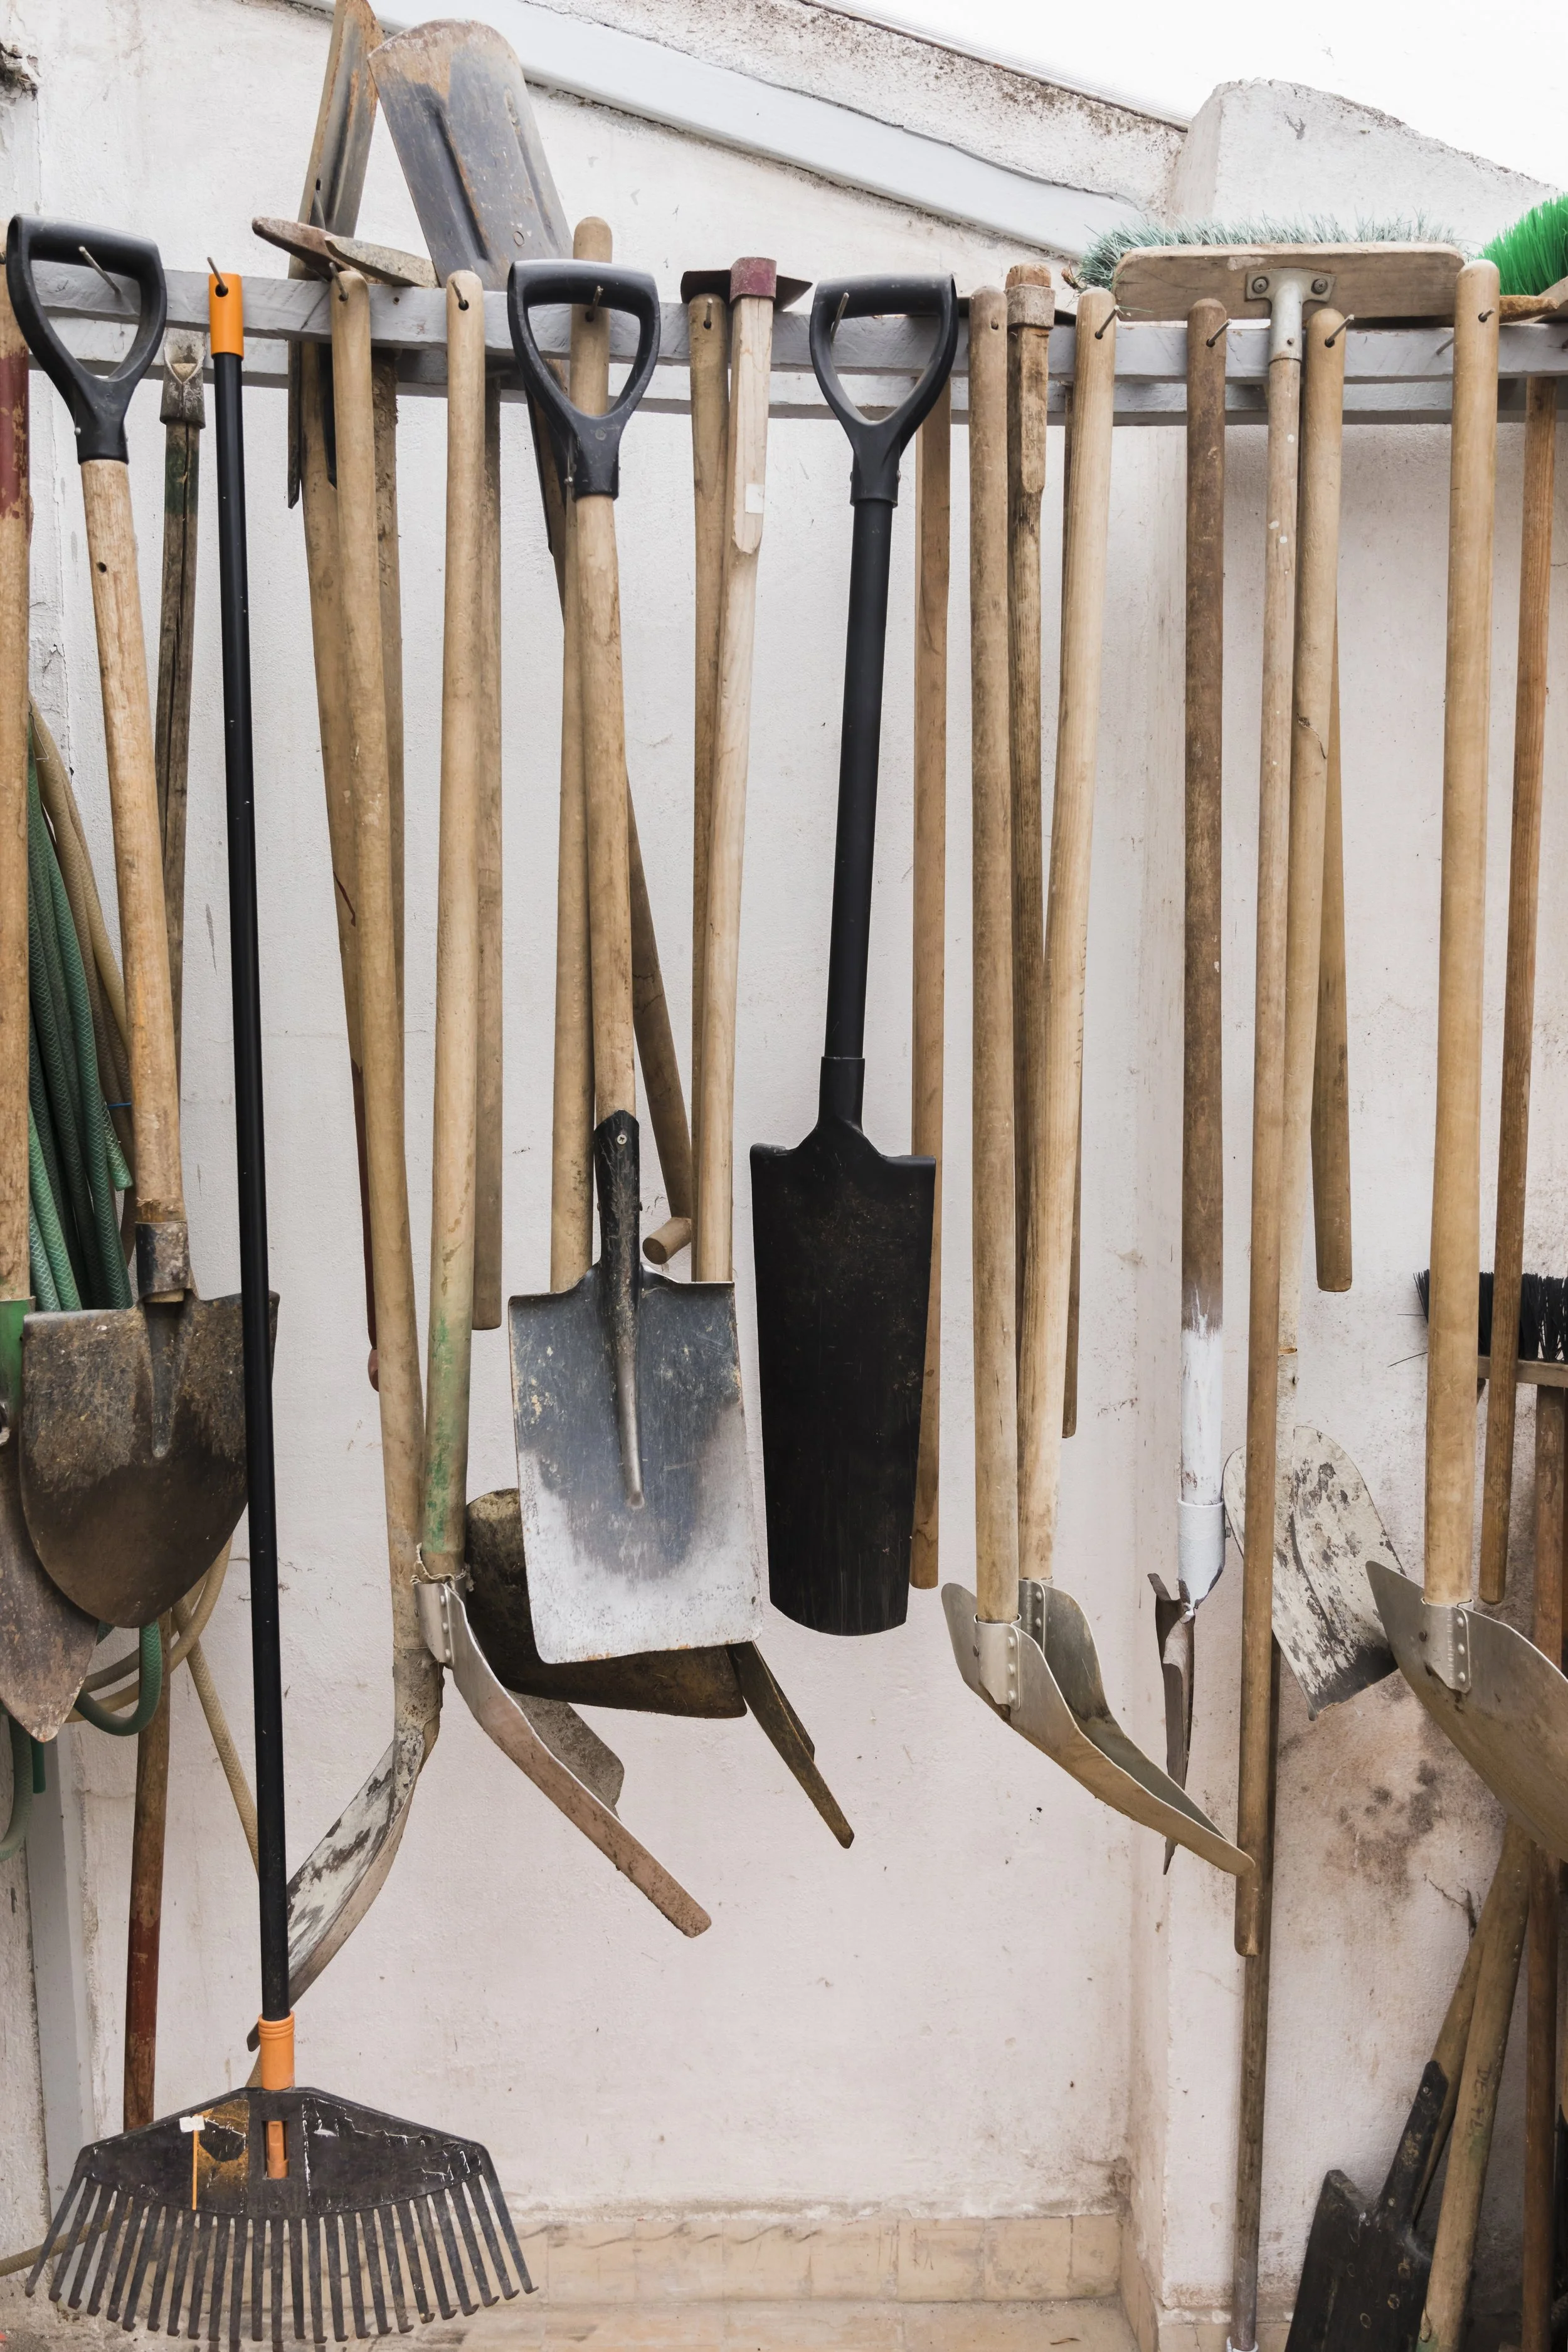
To make your hard work last, make sure to store tools clean and dry, hang tools when possible to keep the edges off damp floors, and keep them out of unheated, humid spaces.
Tool maintenance doesn’t have to be a chore. Put on some music, make a cup of tea, and do a few tools at a time over winter. Come spring, you’ll feel the difference immediately—smooth cuts, easier digging, and zero frantic rust-scrubbing.
Your tools work hard—give them a little care now, and they’ll be ready when spring calls.